Friday, 25 January 2013

More electronics!!

Another productive bit of a day even though Skye (my co-builder!) was sent home from school with a funny tummy - yep! that old chestnut!.
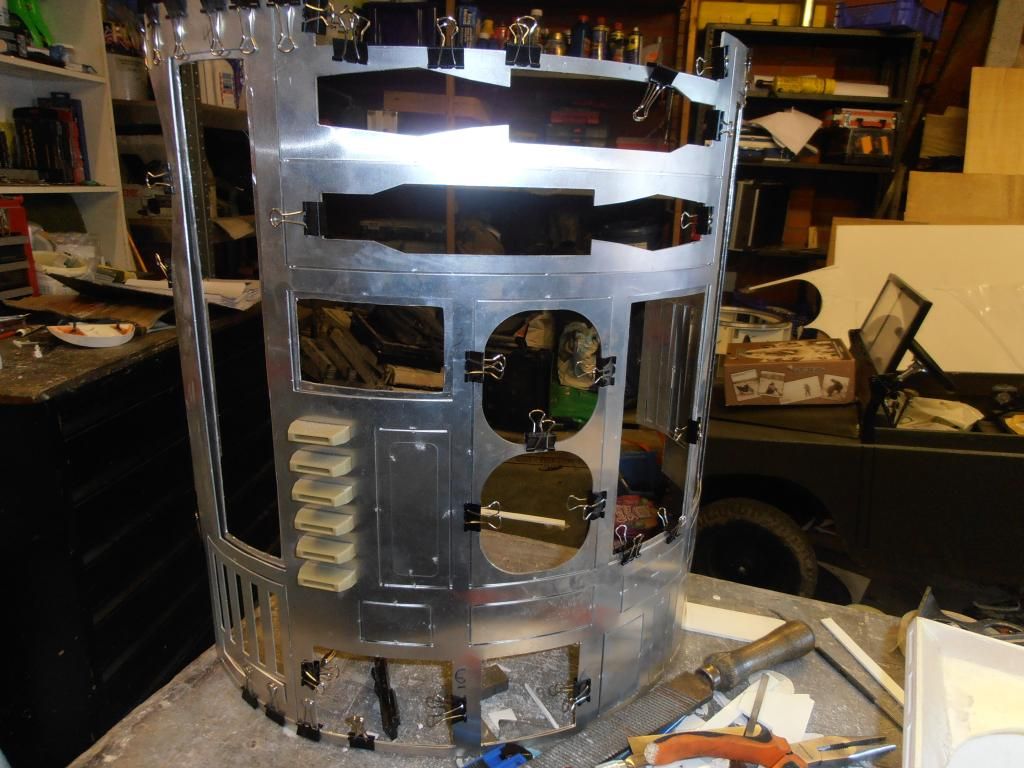
After quickly, but properly, soldering the LEDs in with no filing to be seen it was time to program the Arduino to see it working.
Using my new netbook (xmas pressie from the wife) I had to download all the software and try and upload the program. It took me all afternoon for the netbook to pick up the COM port (?) but perseverance paid off and the result is below. I do need to solder on some wires and LEDS for the battery monitor. Like the dome displays these cant be added until a much later date when everything else is done. Little steps!!!


Wednesday, 23 January 2013

A little progress

The dome has acclimatised indoors and I have printed off some plans with dimensions on so I can start marking out in the near future.

On other news, I have just spent about 2 hours watching the TV whilst filing the small lip off of 77 3mm LEDS. I did try swapping hands but it wasn't as effective.
These will now be soldered into the front logic boards tomorrow and that will be the dome lighting finished - hence the near future marking of the dome

Believe it or not some are blue!!

Thursday, 10 January 2013

wot no piccies - boring!!!


Since the success of getting R2-ST moving on Boxing Day, I have spent a little time in the DMW (Design & Maintenance Workshop) doing little bits.
Both PSI's are now completed and tested, work has begun on the front logic displays and this involves filing each 3mm LED to ensure the bezel fits. Slow progress.
The backs of the utility arm boxes have been cut out and are drying as I type.

As the weather is getting colder, I have managed to sneak a dome indoors to acclimatise. This will then allow me to start marking out the panels etc, ready for cutting. The cuts will determine where the cuts are needed for the inner dome.  Going to be nervous cutting it out, cos if it all goes wrong!!!!!!!

Got to start working on it in earnest now as there's a big event up North that the UK R2 Builders have been invited too for the Help For Heroes charity. Check this link for guests, dates etc https://www.facebook.com/photo.php?fbid=287421114711896&set=a.287420724711935.67818.278960765557931&type=1

Sunday, 30 December 2012

YEE!! HAAA! Movement

As expected, after a frantic Xmas eve troubleshooting, R2-ST was ready for movement on Boxing Day.
The motors were in, the battery boxes screwed on and makeshift ankle wedges in place for R2 to start rolling using a RC transmitter and receiver from the very first thing I bought with my very first credit card -  a Tamaya Ford Escort Cosworth.  R2 gently made his way through all the cars and positioned outside the window for all the guests to see. And to be honest I was pretty chuffed with how he was going, turning on the spot, forwards, backwards - absolutely fantastic. The best bit was how surprised the wife was - helps negotiate for more funds.


Inspired by the above success, a thorough clean of the workbench and floor in the DMW was followed by some gentle soldering on the rear PSI board. This was hooked up to the rear logic and joy of joys that worked too. Something is going to go wrong somewhere along the line!!!!!


Sunday, 9 December 2012

What's happening? Not a lot!!!

These blogs are getting very infrequent. I must do more!!!

I have not really done a lot since the last one. Except move the supports for the long front arm slots so that they face forward(ish) as opposed from the centre point. This will enable the use of arms coming out to the front instead of the side. Someone mentioned it somewhere and it was a "Oh yeah!" moment. Also James from the UK R2 Builders mentioned that he has had to strengthen his shoulders so this has been done also.

Even though the dome is untouched, I wanted to get the displays working so I have been soldereing the components on. In line with everyone else I put some LEDs in to make sure it all worked and only 1 set of them worked!!!!!  After about 18+ hours of investigating, swapping bits over, resoldering, testing with a multimeter and writing down what IC pin went where all with a X10 magnifying glass stuck to the eye, it transpires that there is a small break between pins joining the first IC to the 2nd (and thus the 3rd). A small jumper wire soldered on and hey presto! we're in business. Now all I have to do is file the flange on the 135 LED's down so the bezel will fit.


Bright Light!!!


So far about 50 done.

I have been wondering about the centre wheel and found a site on fleabay which was based a few miles away. Deciding to pop in the way home from work I managed to get a centre swivel 100mm castor for £6. It did look like I was going to have a smaller 75mm wheel for a time though. Bigger is better - especially when I get the suspension on it.

Where there's a wheel, there's a way!!!


Time to go and file another few LED's.

Thursday, 11 October 2012

Little steps

Its been a while - again!!!
But here's the latest installment.

I have finished marking and cutting the other 3 panels on the front inner skin. These are now ready to go. All I have to do is work out how I'm going to attach the skins to the frame. Just to make R2 a bit different to the norm, I'm toying with the idea of countersinking allen key bolts into the frame and leaving them on show. This will save having to smooth over and paint and make skin removal easier if required. It may even look more factory built too.

Oooh!! Shiny!!!

I've also been following a fellow builders updates on the forum about his adaption for the dome light displays. Being most impressed with BigHappyDudes progress I spent the remaining birthday money on a lot of bits to start this and a motor controller. The plan is for R2 to move by Xmas and join in the festivities and for Skye to start her part in the build and solder!!

Heres a photo of a few of the bits with more on the way - yippee!!

An early Xmas present!


I couldn't get over how small the dual motor controller was compared to the 4QD one for Skye's Toylander


Friday, 14 September 2012

Gulp!!!

It's been a while since I've done anything to R2 - school hols, work etc. 

But, now my co-builder is back at school I can start making a bit of progress again.

A bit of where shall I start in the DMW and I decided to crack on with the panel cutouts on the skins.

Gulp!!! If I get this wrong then its scrap the skins and make them from styrene.

I had scribed the cut linefor the inner skin and with a 0.75mm thick cutting disc in the dremel away I went. The dremel must have been working hard because it must have stopped a dozen times due to a thermal cut-out.  Eventually the inner piece was done.

Good the flash hides the dodgy bit!!!

 Don't look too closely though otherwise you will see the lines aren't quite straight.  It only took just over an hour to do, so the it will be atime consuming process. And the dome will take even longer as its thicker - great!.

Hopefully the updates will become a little more frequent now as my step-daughter has suggested R2 carrying her wedding ring next August.