At long last I have managed to work out the skirt. It's taken a while but looking at Jerry Greene's schematic I worked out the angle for the curved skirt pieces. From this, new support triangles were cut out and glued in. The curved skirt pieces were then duly stuck down and left while I went to work.
Today, after beating Skye at monopoly, I was allowed (!) into the DMW (Design & Maintenance Workshop). All the skirt ribs have been filed to the same size and then it was a case of where abouts they went on the skirt. A few cups of tea, a look on the computer and I realised there were marks on the base plate - DOH! With the centre line marked as soon as one side was completed and symetrical, the other end was a piece of cake (or another cup of tea).
Before today I did manage to put the curved 1mm piece on the other foot. This did take 3 attempts though as the plastic kept splitting but perserverance paid off.
Tomorrow may see the other battery box made - but who knows!!
A blog about the build of an astromech droid, which will be used for charity events and to bring smiles to peoples faces.
Sunday, 22 April 2012
Monday, 9 April 2012
More Bank Holiday pleasure
It never rains, it pours. How true is that statement. A planned trip out was cancelled due to the weather and saving up for our vacation (Skye's wording) to Florida. So after a morning on the kinect and playing twister with Skye made all the more interesting with the wife not spinning the wheel but pre-determining the movement. it was time to venture to the D&M centre.
On the agenda today was, the 1mm curved piece on a foot for the battery box. Using ideas from another builders blog on using aerosol cans to hold the curve and away we go. After a few hours the clamps were removed and the cut-out made.
WOW! what a difference that makes.
TA-DA! Nearly finished foot
While the foot was drying, a further section was stuck on the skirt support pieces. This went a whole lot better than the first time with no splits occurring and all of my clamps used up. As the hours rolled by the only pieces left to glue was the final ends.
Just to have something else started and not finished, I decided to have a closer look at the excellent Deetoo Skins. As I want the doors to open I started to remove the scrap panels on the outer skin so I can line up the skins and draw around the door frame onto the inner skin. A blunt chisel was used on the tags on the scrap piece to wear the aluminium down so that the scrap could be twisted out. A small pair of side cutters removed the tag which will be filed at a later date.
Once the skins are lined up and the door frame marked, it will be a case of removing the frame and marking the opening. The worst bit will be dremelling in between the two lines to make the lip for the door to sit on. Gulp! Do I really want opening doors? This will be blogged when I summon up the courage to do it an dwhen I have full use of all 10 digits. The skin does look a bit better with the scrap parts removed though.
If only everthing was this simple! |
WOW! what a difference that makes.
Where's Eddie the Eagle? |
TA-DA! Nearly finished foot
The end is nigh! |
Looking good |
Once the skins are lined up and the door frame marked, it will be a case of removing the frame and marking the opening. The worst bit will be dremelling in between the two lines to make the lip for the door to sit on. Gulp! Do I really want opening doors? This will be blogged when I summon up the courage to do it an dwhen I have full use of all 10 digits. The skin does look a bit better with the scrap parts removed though.
A little Bank Holiday pleasure
A busy Easter weekend but still some time to visit the deveolpment and maintenance centre (garage).
The skirt had been drying to the body when I thought the curve section should be 1mm - so I cut the 3mm stuff off. Put some 1mm styrene on and started tidying up the detail edges on the feet with my lovely brand new very sharp scalpel and guess what? Yep, I managed to slice the tops of two fingers. No swearing occurred but instinct cut in and the thumb held the worst wound together while I clamped the parts together.
A visit to the kitchen saw a plaster and micropore tape put over both fingers to hold the cuts together.
Back to the D&M centre with blood oozing through the covers and I decided to go indoors and research. Few minutes later and the wife noticed and cringed, Skye went "cool! canI see".
Worst news was to follow though - while researching I could see that the curved sections are in fact 3mm - NOOOOOO!!!!!!
Back outside and 1mm parts off and 3mm parts stuck/clamped on and left to dry overnight.
That's better than first time too!!!
The skirt had been drying to the body when I thought the curve section should be 1mm - so I cut the 3mm stuff off. Put some 1mm styrene on and started tidying up the detail edges on the feet with my lovely brand new very sharp scalpel and guess what? Yep, I managed to slice the tops of two fingers. No swearing occurred but instinct cut in and the thumb held the worst wound together while I clamped the parts together.
A visit to the kitchen saw a plaster and micropore tape put over both fingers to hold the cuts together.
A clear plaster, it was |
Worst news was to follow though - while researching I could see that the curved sections are in fact 3mm - NOOOOOO!!!!!!
The day after the day before |
Back outside and 1mm parts off and 3mm parts stuck/clamped on and left to dry overnight.
That's better than first time too!!!
A Blown motivator????
This is'nt to do with R2 but I went to pick up Skye from school in her Toylander, no problems. Then on the way home we went to go gently up a kerb and - no power and a electrical burning smell. That was it power off push up the kerb and see if it would reset.
No such luck so lift the back by the rear suspension and a 600m carry home!!
Closer inspection reveals this -

Spot the burnt out resistors!!!! - 3rd repair job on this motor controller.
No such luck so lift the back by the rear suspension and a 600m carry home!!
Closer inspection reveals this -
Spot the burnt out resistors!!!! - 3rd repair job on this motor controller.
Sunday, 1 April 2012
BIt of a ponder!!!
I should have updated this a few weeks ago but not a lot was achieved so I didn't bother.
The middle ankle was built and the main part of the centre foot. I stopped there for a bit while I thought about what wheel set up to have. Obviously 2 is better but what size will fit? People are using castors and changing wheels to inline skate type as they turn in better due to their profile - makes sense. I may go down this route but perhaps at a later date. After all it wont take long to knock up another foot - will it?
The wheel set up was another reason I hadn't finished the main feet either. Dave's plans call for a single wheel in each foot, but I was thinking about the 2-3-2 situation down the line and relieving the stress on the parts. Again this was something that could be done at a later date so I started to fix the final parts to these.
While all this was going on I started on the skirt. Blinking 'eck thos 3mm curved sections are difficult too do. Perhaps I should have followed the plans and done it stage by stage and not in one go. They have all split where they curve round but some styrene/glue paste has sealed them and they seem to have stuck on well.
It was now a case of stick this part of the skirt on to the frame before commencing further action, mainly because it was like Christmas as a child - THE SKINS ARRIVED.
Fantastic!
I waited for Skye to come home and open the box with me and couldn't help but have a big grin on my face all afternoon. Thanks to Deetoo from the UK R2 Builders Club for arranging this. The next few evenings were spent looking at domes and alternatives aswell as the cutting out of the door sections. In order to have some of the doors open on the body, I'm going to have to take a dremel and cut out the inner skin in order fot them to open. Only 4 on the front section, but it could be a case of just doing one for the charger and perhaps on the next droid having an all bleeping, all shaking one!!!
A lightshade from B&Q is very similar size to a proper dome was purchased but its about 6mm smaller in diameter. This is the ponder bit. When it comes to it do I try and hide this difference somehow and use this as a temporary measure or save for a proper dome? The jury is still out at the moment but with the skins round the frame and dome on top it looks better.
Centre ankle plates drying together. |
Curve sections taped in place |
Centre Foot underway |
Starting to look better. |
Hands up, who sees the splits? |
While all this was going on I started on the skirt. Blinking 'eck thos 3mm curved sections are difficult too do. Perhaps I should have followed the plans and done it stage by stage and not in one go. They have all split where they curve round but some styrene/glue paste has sealed them and they seem to have stuck on well.
Fantastic!
I waited for Skye to come home and open the box with me and couldn't help but have a big grin on my face all afternoon. Thanks to Deetoo from the UK R2 Builders Club for arranging this. The next few evenings were spent looking at domes and alternatives aswell as the cutting out of the door sections. In order to have some of the doors open on the body, I'm going to have to take a dremel and cut out the inner skin in order fot them to open. Only 4 on the front section, but it could be a case of just doing one for the charger and perhaps on the next droid having an all bleeping, all shaking one!!!
Mind the gap. |
Can you guess what it is yet?
Yep, an oversize trash can. |
Saturday, 4 February 2012
SABOTEUR SPOTTED IN GARAGE!!!!!
I couldn't believe how cold it was when I took the day off studying and popped out to the garage for a little build therapy.
All wrapped up with eyes and hands on view, it was out to redo the curve on an ankle after I decided to put a clamp through it!!!!Doh!!
With that done it was a case of making the holes for the shoulder buttons. I managed to find a nifty little tool from Toolstation that if I had known about it earlier would have used it for the leg curve. Oh, well.
After the holes were made and some expanding foam moved from the cable pipe it was time to bolt the shoulder hubs on. Then the legs to the body.
With R2 watching, it was indoors to warm the fingers up and a cuppa before venturing back into the cold.
This time round it was the beginning of a battery box. Unsure how long it would take for the glue to set in the sub zero temperatures, I planned on not doing a lot. But like all well made plans the glue wasn't too bad and a nearly complete battery box was completed before the toes said they were going to turn to ice. Next time I shall wear boots instead of trainers. All said and done though, quite pleased with the progress today - just need the lottery win to buy the rest of the bits.
If it snows tonight it will be a difficult choice between studying, garage or sledging with Skye.Hmmmm! Sledging is ahead at the moment.
All wrapped up with eyes and hands on view, it was out to redo the curve on an ankle after I decided to put a clamp through it!!!!Doh!!
With that done it was a case of making the holes for the shoulder buttons. I managed to find a nifty little tool from Toolstation that if I had known about it earlier would have used it for the leg curve. Oh, well.
A fabulous cutting tool for less than £10 |
After the holes were made and some expanding foam moved from the cable pipe it was time to bolt the shoulder hubs on. Then the legs to the body.
R2's lost its head |
With R2 watching, it was indoors to warm the fingers up and a cuppa before venturing back into the cold.
Not bad for a few hours building in -2 temperatures. |
If it snows tonight it will be a difficult choice between studying, garage or sledging with Skye.Hmmmm! Sledging is ahead at the moment.
Wednesday, 4 January 2012
Who needs glue?
Nearly a month since my last blog but that doesn't mean I haven't done any work on R2.
My goal was by Christmas to have R2 able to stand up unsupported as long as no-one touched him. This wasn't achieved however because of school holidays - yep I had to stay indoors where it was warmer and annoy Skye. To cut a long story short, Skye was not feeling well the week before xmas and ended up having an emergency appendix operation on the 23rd December. She was discharged from hospital on Christmas Eve and is back to her annoying self. Anyway, while she was in hospital we decided it would be good to take R2 round the childrens ward when he's finished as a thank you to the staff and to cheer up the children. This adds a bit more pressure to make him look even better now - gulp!
I've digressed enough now and back to the build. I managed to escape the house for a few hours and headed to the garage where the 2nd foot was built to the same stage as the 1st. This meant R2 could stand unsupported and photo time. The obligatory photo of a persons head behind R2 was also taken.

Due to my shift pattern at work, I have managed to fit in another few hours in the cold garage. At one point I was wondering how I was going to get my lunch without getting wet as the rain streamed down. Then it eased and my worries were gone.
I was now cutting the 1mm HIPS. WOW!! how much easier is this to cut and snap than 3mm? This stuff is really, really nice to cut. The 1mm parts for the legs were cut out oversize in order to give enough material to trim up. After checking for high spots the strips going around the tops of the legs were glue on and held in place with tape. Only 1 strip on each leg at the moment though.
The next day after these had dried the 2nd strip was added and again held in place with tape.
There is so much tape around these sections that its a pity glue is applied. While these strips were drying a trim of the slots and a file of the angle bits and another part of the legs are covered in 1mm.
My goal was by Christmas to have R2 able to stand up unsupported as long as no-one touched him. This wasn't achieved however because of school holidays - yep I had to stay indoors where it was warmer and annoy Skye. To cut a long story short, Skye was not feeling well the week before xmas and ended up having an emergency appendix operation on the 23rd December. She was discharged from hospital on Christmas Eve and is back to her annoying self. Anyway, while she was in hospital we decided it would be good to take R2 round the childrens ward when he's finished as a thank you to the staff and to cheer up the children. This adds a bit more pressure to make him look even better now - gulp!
I've digressed enough now and back to the build. I managed to escape the house for a few hours and headed to the garage where the 2nd foot was built to the same stage as the 1st. This meant R2 could stand unsupported and photo time. The obligatory photo of a persons head behind R2 was also taken.
Skye with the compulsory picture |
Due to my shift pattern at work, I have managed to fit in another few hours in the cold garage. At one point I was wondering how I was going to get my lunch without getting wet as the rain streamed down. Then it eased and my worries were gone.
I was now cutting the 1mm HIPS. WOW!! how much easier is this to cut and snap than 3mm? This stuff is really, really nice to cut. The 1mm parts for the legs were cut out oversize in order to give enough material to trim up. After checking for high spots the strips going around the tops of the legs were glue on and held in place with tape. Only 1 strip on each leg at the moment though.
2nd strip taped in place.Who needs glue? |
Slot bits drying - hopefully! |
There is so much tape around these sections that its a pity glue is applied. While these strips were drying a trim of the slots and a file of the angle bits and another part of the legs are covered in 1mm.
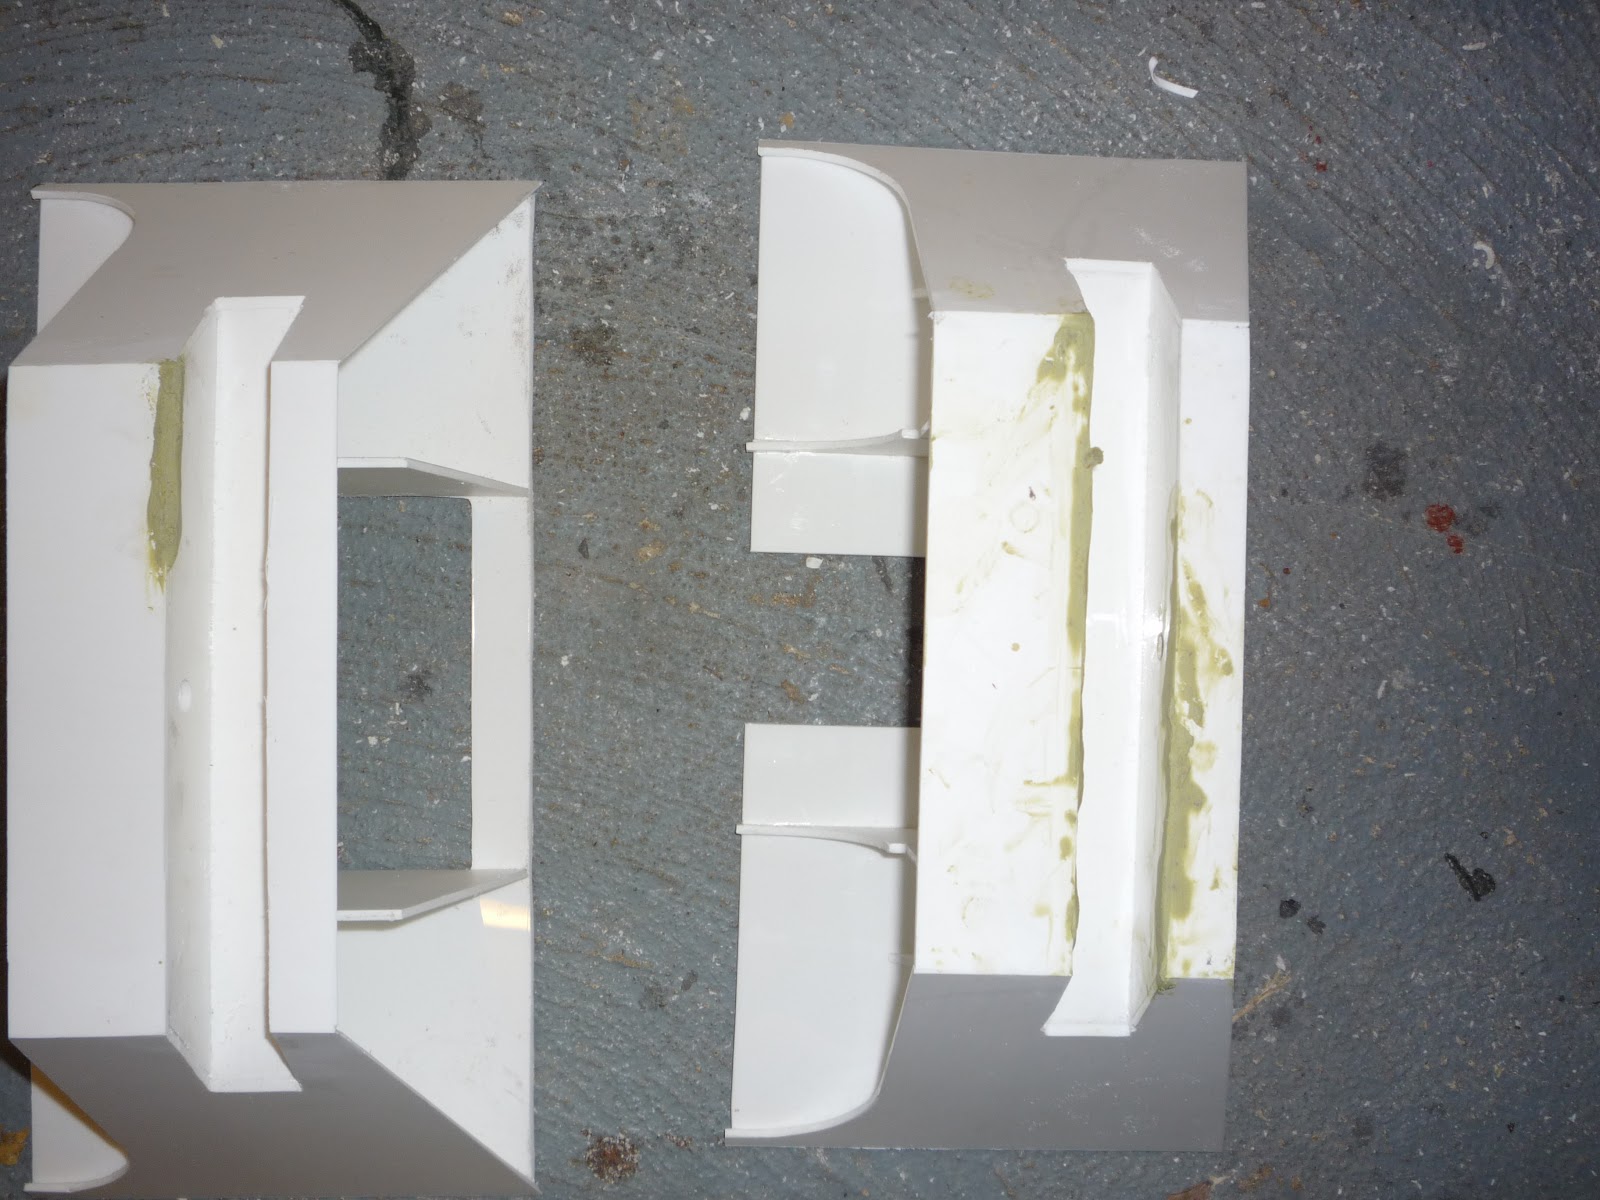
While in the garage I played with some filler called Milliput. It was bought from a local railway model shop and has some excellent uses and only cost £3. Once mixed by hand like dough it was put in a few places on the feet and when set can be filed, sanded, drilled, tapped etc. This could be my saviour if I'm going to display at the hospital. I'll let you know how this part goes.
The magic of Milliput? |
I'm back at work tomorrow, and I had best start studying for a couple of exams in 8 weeks, so the build may be a bit slow. But while studying on the laptop I could start playing with Picaxe programming now I have the stuff - hmmm!!!
Gosh! Nearly forgot Star Wars on blu-ray - absolutely fantastic. Although Skye did threaten to destroy the discs if I kept saying quoting lines before the actors. Obviously I humoured her - for a while
Subscribe to:
Posts (Atom)